

We have prepared this article for people who are just getting started to use Android or for those people who began to use such devices recently and don’t understand something. In this article that will be dedicated to the Wi-Fi topic, and we will explain how to connect the Android phone to Wi-Fi and how to use it.
Contents
Wi-Fi module activating
Let’s start with the most simple and basic question: how to activate Wi-Fi module on the mobile device? To turn it on, do the following:
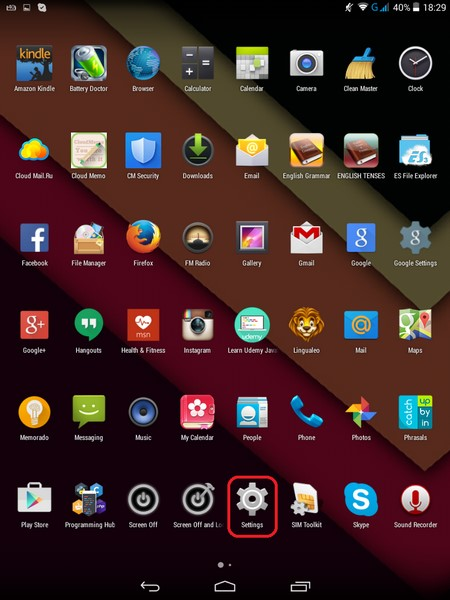
- Go to the menu, where there are icons of all programs.
- Find and select the “Settings”.
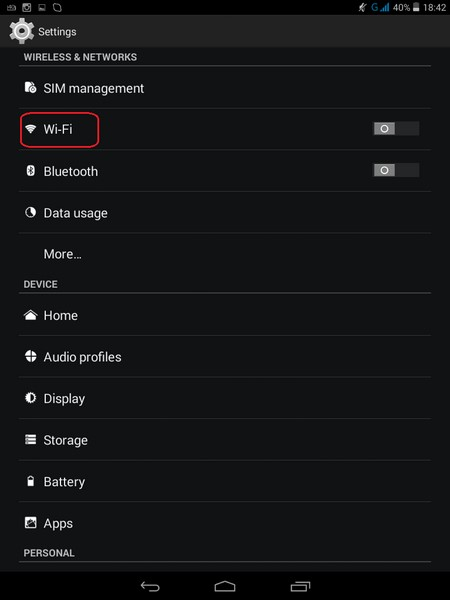
- Select “Wi-Fi”.
- On the top right, move the slider which will change the activity status of the wireless module.

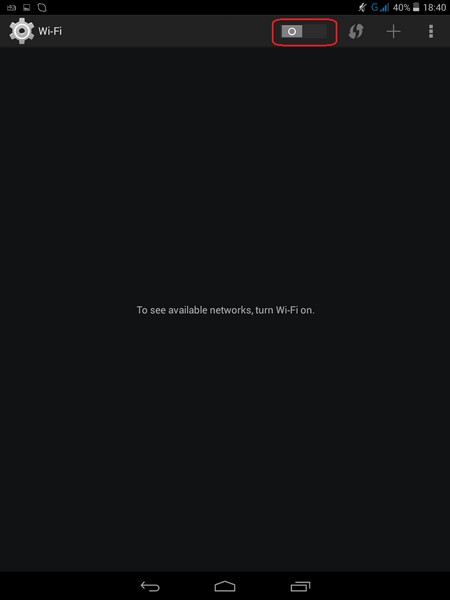
After that, the mobile gadget will start to search for the Wi-Fi network in Android, and it will show all the networks that are close to you. Next, you need to connect your device to the wireless Internet in Android.
The connection procedure
Please note that the network can be both open and protected (with a password). Open networks are indicated by an icon with the signal level.
And in closed networks, there is a lock near this icon.
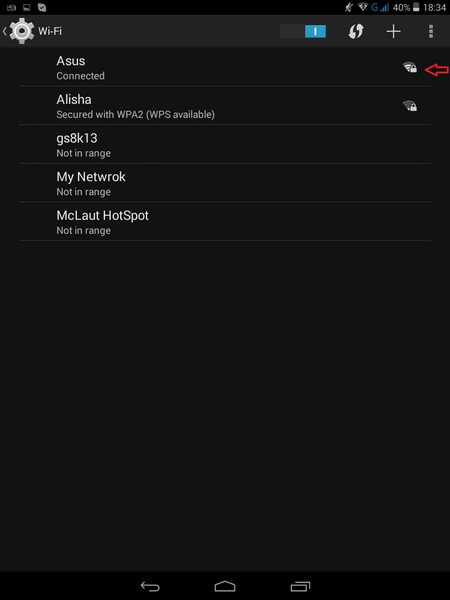
To connect to the Wi-Fi on Android without a password, you should click on the desired network name in the list of available networks. After that, the device successfully joins the access point. If this does not happen, it is possible that the signal is not good enough, or the router that gives a signal has a special protection against unauthorized connection. Try to reconnect to another access point.

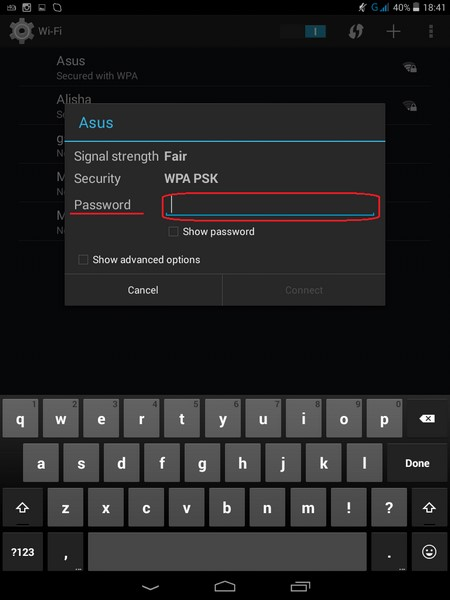
If everything is simple with open networks, we will show how to connect to a protected Wi-Fi on Android.Everything happens exactly as with open networks. You click on the desired name, and then there is another window in which you will see the password input field. Enter the password from the network there. It may consist of numerals, characters and English letters.
After you enter it, click “connect”.
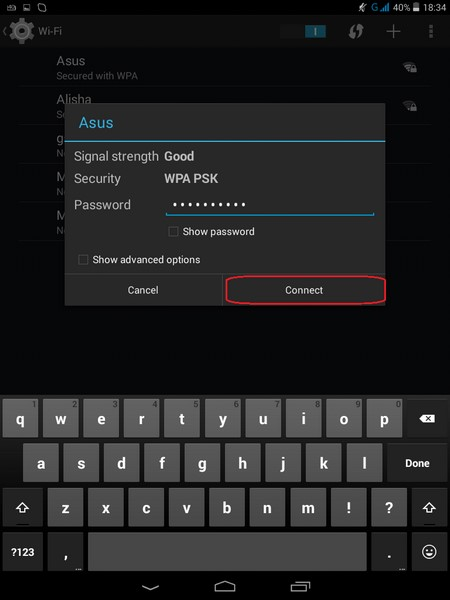
If you enter it correctly, you will be able to use the Wi-Fi network in your Android phone.You can browse the Internet (if the router allows it), or to interact with other gadgets that are connected to the same access point, for example, with Wi-Fi printers or laptops, desktops.
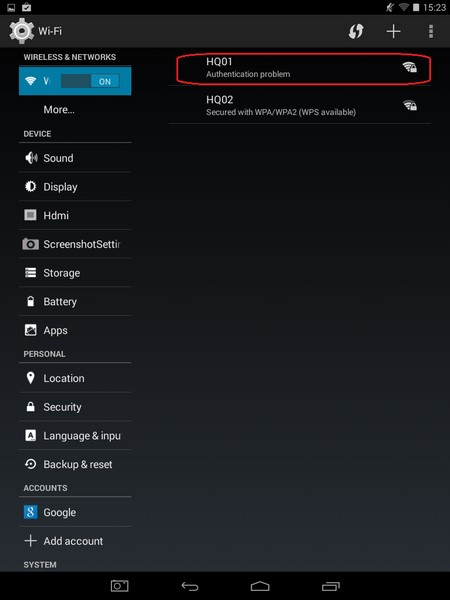
If you see a message “authentication error” instead of a successful connection, then you have entered the password incorrectly. Click the name of the access point again and re-enter the pass.
Creating your Wi-Fi
We have described how to connect Android to a Wi-Fi, but what if there are no nearby Wi-Fi access points and you need the Internet on your laptop urgently? There is a solution. If you have Android smartphone with mobile Internet access, you can share the Internet from your phone to a computer.
To add the Wi-Fi network on Android, do the following:
- Go to the settings of your phone.
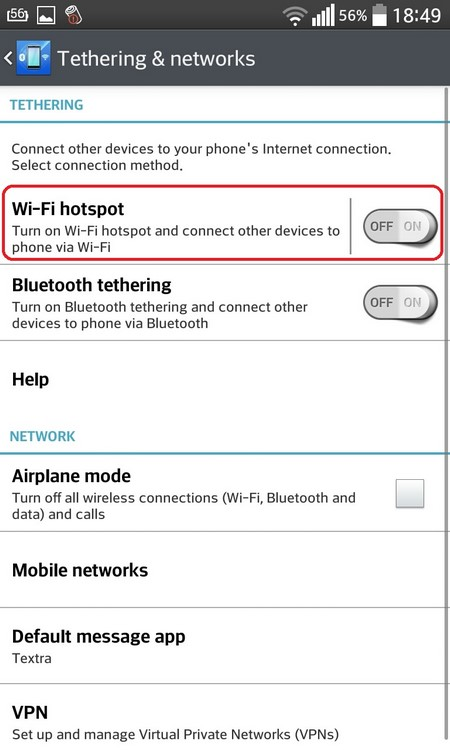
- Go to the “Tethering and mobile hotspot”.
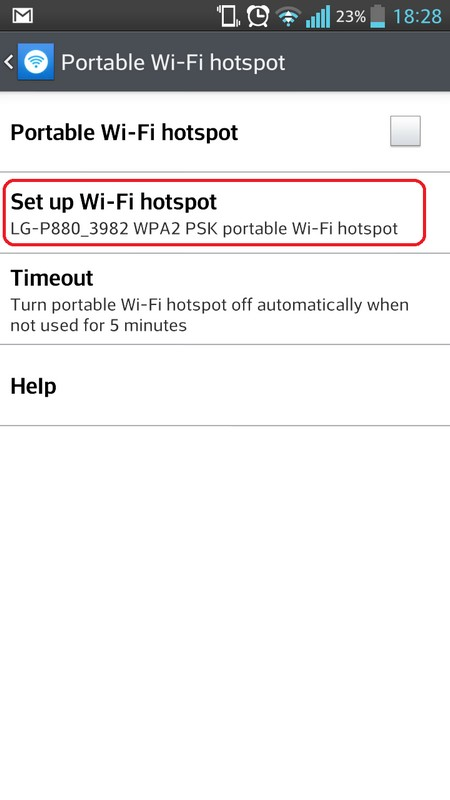
- Select “Wi-Fi Access point”.
- Then click “Create an access point”.
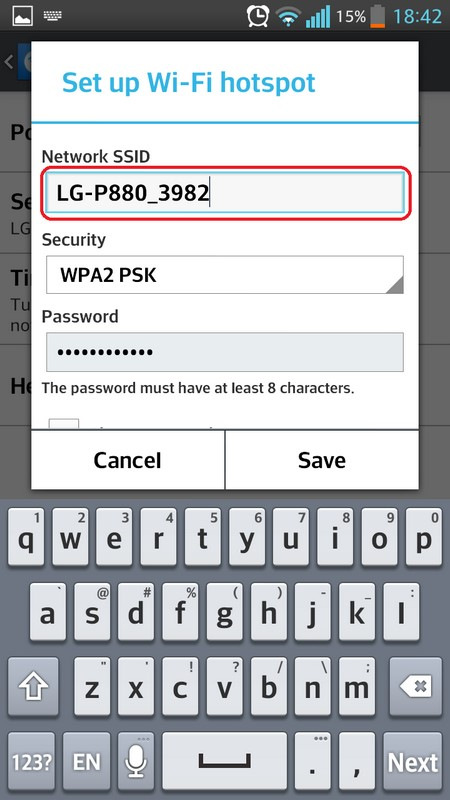
- Come up with its name in the “SSІD” line.
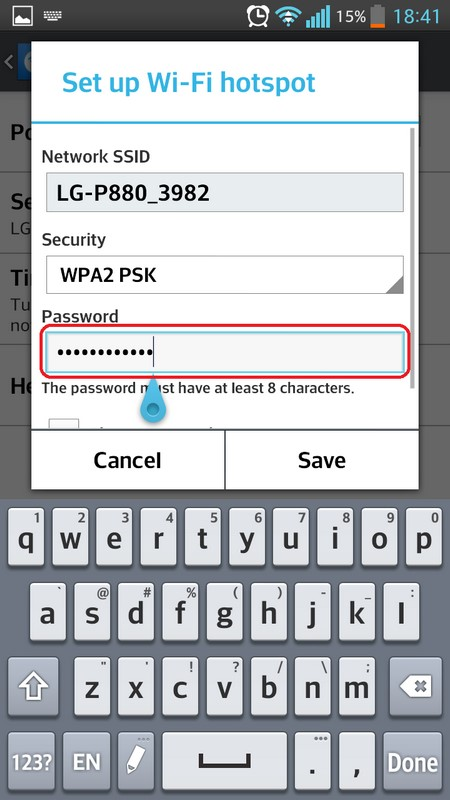
- Set your password in the «Password».
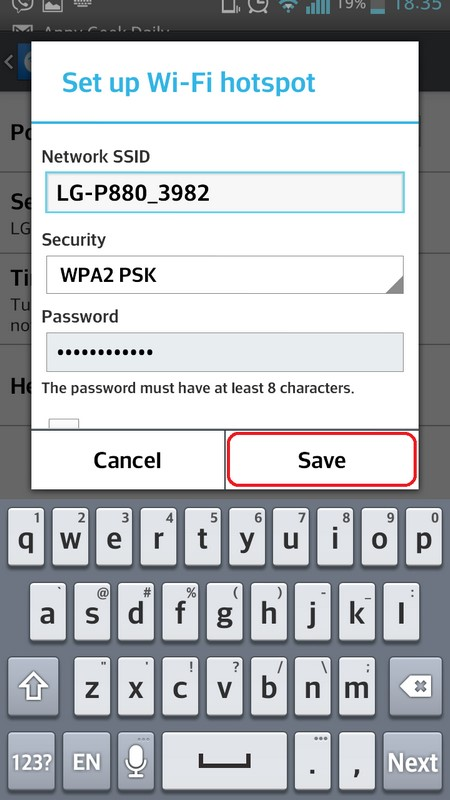
- Click Save.


Everything is set up; it remains to find out how to get Wi-Fi on Android.To do this, move the slider on the top right to activate the network, and then you can find the network on your laptop and join it to get access to the Internet.
