

How to make sure that your smartphone connects to the correct access point when you activate the wireless network? Often, the list of available networks is extensive, but not all of them provide the desired speed of the Internet. It is easy. Now you will learn how to do it.
Contents
How to choose an application
Note that you will not be able to configure Android Wi-Fi priority using the standard functions. It is not provided by developers. But if we turn to Google Play, we can find several applications for this task. I used Wi-Fi Priority Lite.
The program is partly free, that is, the basic functions are available at no charge. Advanced capabilities will be opened after purchasing the full version. To download it, you will need to have an access to the Internet.
Conventionally, the work with this application can be divided into two stages:
- installation;
- launching and configuring.
Installation
Connect your Android to the Internet and open Google Play. In the search bar, type «Wi-Fi priority». Choose the desired program from the list, press “Install”.

Launching and configuring
After installation, click “Open”. Also, the application can be started by clicking the shortcut on the desktop. The user will be prompted to enable or disable Wi-Fi; he will see a priority list and the list of available networks.

If you press the system settings button, you will get to a menu where you can select the settings or enable the “Display all access points” function.

This function allows you to disable the display of the points that are out of range.
In the settings you can turn on the auto load, auto restart, auto shut off of the wireless connection (paid version only), to configure the scanning time and enable some other functions.
To set the priority of an access point in the list of active networks, you need to click the one you want to configure. You will see a window where you will need to select «Add to Prior List».

Then confirm the addition by pressing «Add».

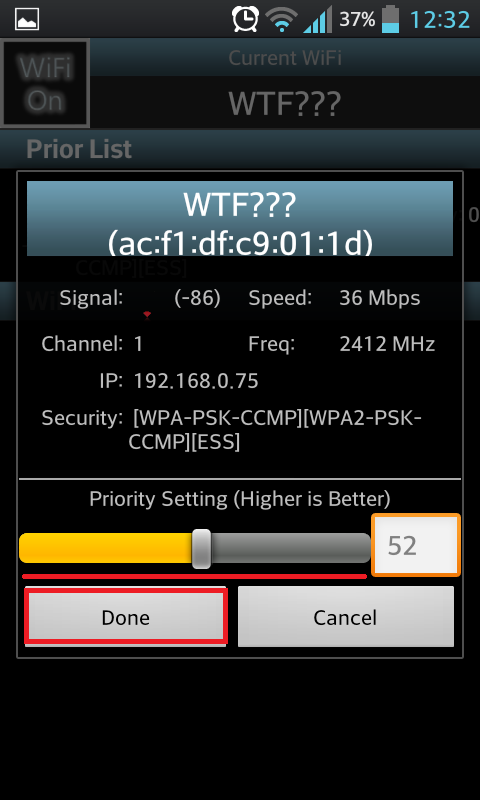
To set the priority level, choose our point by clicking it in the priority list (Prior List).

You will see a window where the priority is controlled by the slider. After configuring, click the button «Done».
That’s all. The program is simple and convenient. The only downside is that it is entirely in English.