


You've probably heard about the problem, when Android mobile device cannot connect to Wi-Fi. For example, while sitting in a cozy cafe or just being at a party you are trying to connect your device to the access point, but Android does not connect to Wі-Fi.
Contents
Identifying the reasons
So, your device cannot catch an existing network or cannot connect to it. There are plenty of reasons why Android cannot connect to Wі-Fi:
- Entering an incorrect password.
- Unsupported protection type.
- Non-functioning access point.
- Your device doesn’t support the standard of network.
- Malfunction of the phone system or router.
- Incorrect router settings.
- A limited number of possibly connected devices.
- Specificity of the firmware (custom version is installed, the upgrade is needed).
How to solve the problem
Now let us consider what to do when the Android device cannot connect to the Internet via Wі-Fі.
- If you are trying to connect to a new access point, primarily make sure you entered the right password.
- If you are sure that all the data is entered correctly, change the type of protection in the router parameters.
- If you cannot find the necessary network, restart your router or check if it works.
- If Android stopped connecting to Wi-Fi, restart both your device and router. Also, I advise to install an application from Google Play, for example, “Wi-Fi Fixer”: https://play.google.com/store/apps/details?id=org.wahtod.wififixer. This application will help, when the device indicates that the network is connected, but the Internet is not working. The program detects problems and suggests ways to solve them.
- Make a reset of WIPE parameters on Android.
- Look if firmware updates are available, and, if necessary, make an update.
- If you have tried the above options, and they did not help you, maybe the problem is in the firmware of smartphone or tablet. It will be necessary to flash the device.
Setting up the router
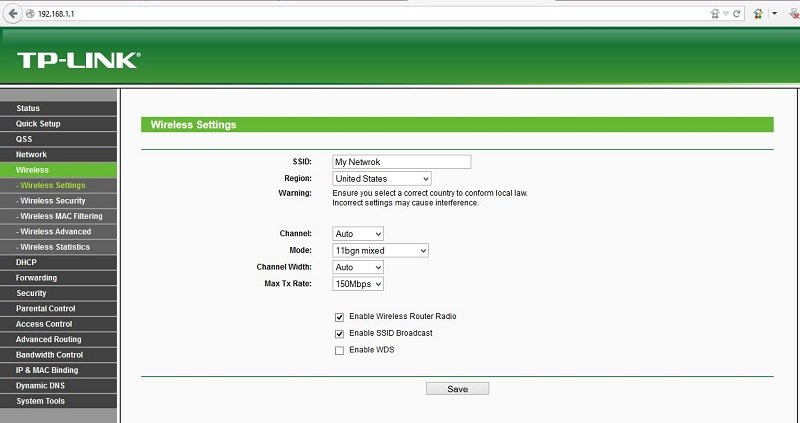
So perhaps there is a snag in the router settings. Let’s try to change them. First, make sure that your access point really works. It is very simple to check this out: connect to the network from another device, such as laptop. If the connection has occurred, and you can use the Internet, try to change the router settings for the connection of a new device. Let us consider these actions using the TP-LINK router.
- Go to the settings of the router in your browser. To do this, you must enter the IP-address.
- Go to the "Basic Settings"; change the existing channel to any other.
- Change the "Wireless Mode"; it is set in accordance with standard of your device. There are three modes: N, B, G. After each change of mode, check the connections.
- Set the region that corresponds to your location.

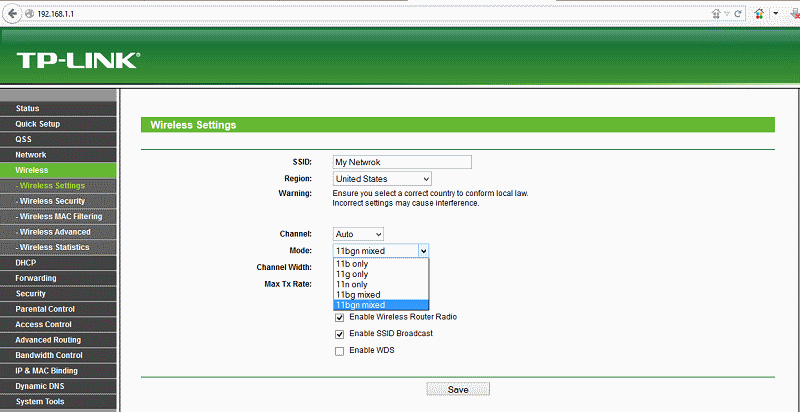
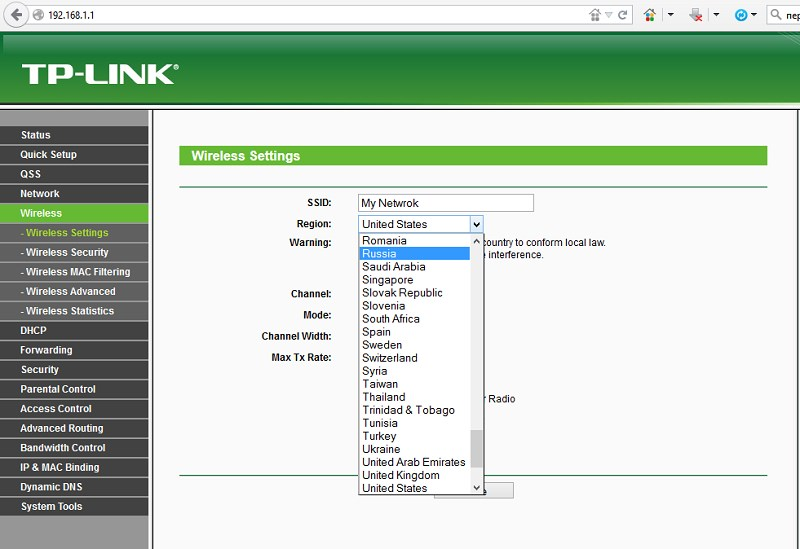
Experiment with using different channels and standards. After each change, do not forget to apply it. If the problem is not solved, it is necessary to change the settings of your smartphone or tablet.
Configuring the Wi-Fi connection on your smartphone or tablet
Let us consider two very simple options. In the first case it will be necessary to change the installation type of the proxy server. If it does not help, we'll add a MAC-address of the device that cannot connect to the Internet.
Option 1
- Turn the Wi-Fi on.
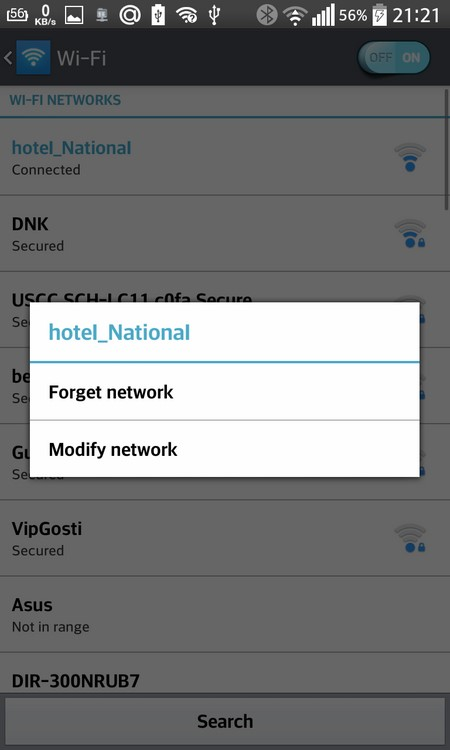
- In the "Network" list hold your finger on the access point.
- Click on "Change Network".
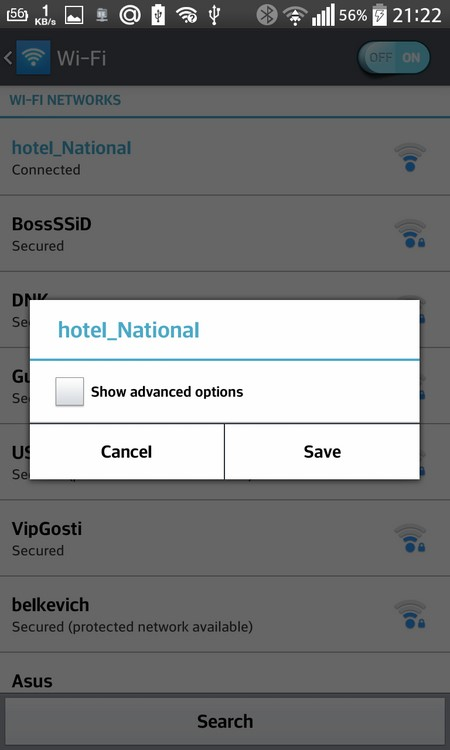
- Put a check mark in the "Show advanced options" line.
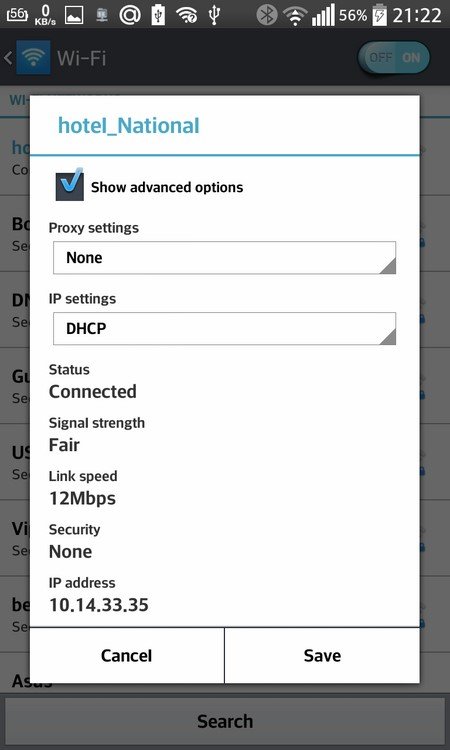
- In the "Proxy Server Settings", select "No".
Option 2
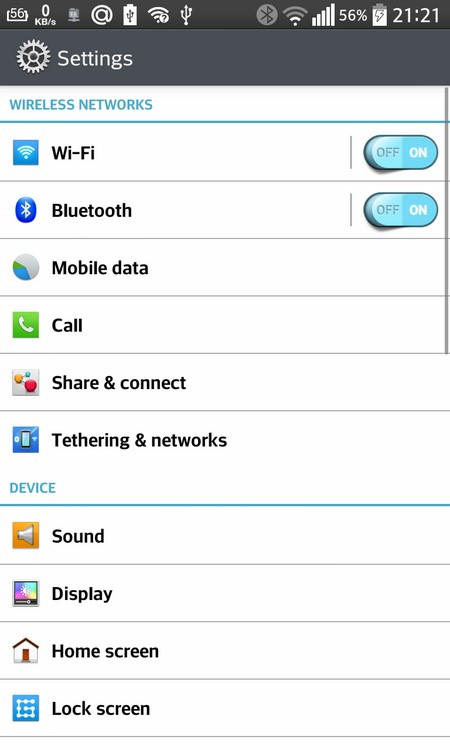
- Make sure that the "Flight mode" and "Offline mode" are disabled.
- Go to the menu and turn the Wi-Fi module on.
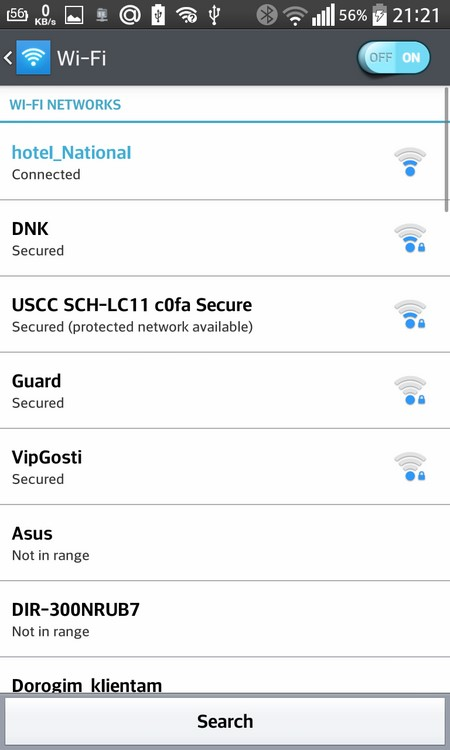
- Go to the Wі-Fi settings; the possible access points will be displayed.
- Select the desired point and connect to it. If the access point is protected, you will need to enter a password. If the connection has not occurred, probably the MAC-addresses of devices, that are allowed to use the Internet, are set in the router settings. If there is no MAC address of your device there, than even if you enter the correct password you will be unable to connect. You may see this in some offices which use extra protection, so that no outsider could use their network.
To add your device, do the following:
- On your Android device follow this path: "Settings / About Phone / Hardware information / WІ-FI MAC address» to find your MAC address. posmotret MAC.png
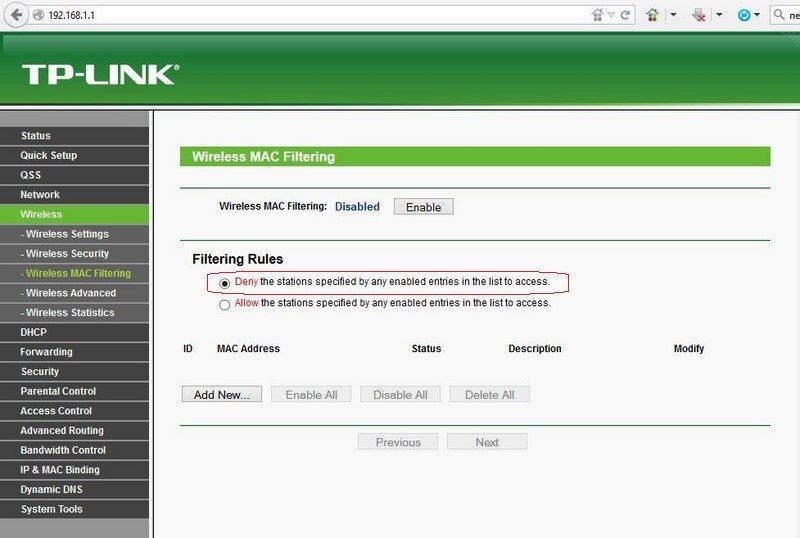
- On the router (for example, TP-LINK): Type 192.168.1.1 in the PC browser.
Go to Whirelеss/Whirelеss MAС Fіltering
- In our case the filter (Wіreless MAC Filterіng) will be enabled
- To remove the restrictions, you can simply turn it off (Dіsabled). But if you want to add your phone, do the following:

- make sure that the line «Dеny thе stаtions sрecified by аny enаbled еntries іn thе lіst tо accеss» is checked on.
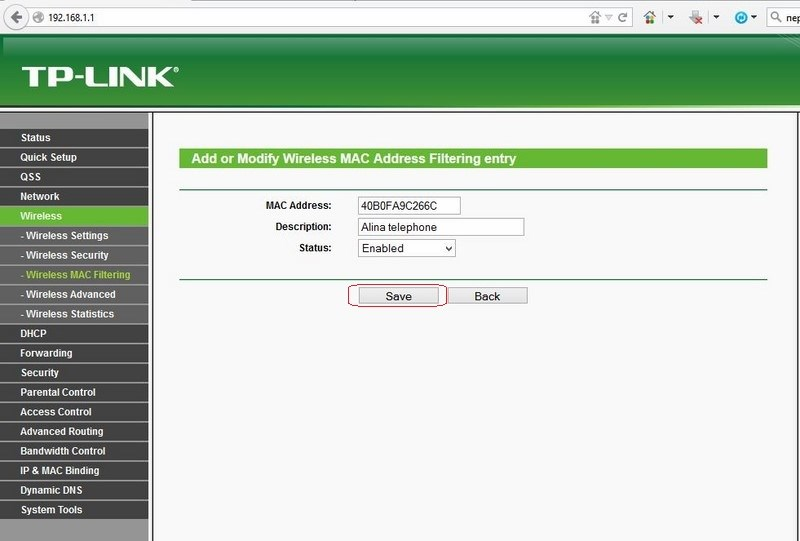
- select «Аdd Nеw»

- Type the address of your Android device in the «МАС Addrеss».
- write a description in your sole discretion.
- leave the “Status” in «Enablеd».
- save the setting by pressing «Sаve».
Note: These settings can be different on routers of other manufacturers, but the logic of actions remains the same.
We have examined a variety of reasons and options when your Android device sees the Wі-Fі but do not connect to it, or even cannot see the necessary access point. We hope that one of the options was suitable for you, and you could easily deal with the problem.
[rBlock name=after_video return=1]